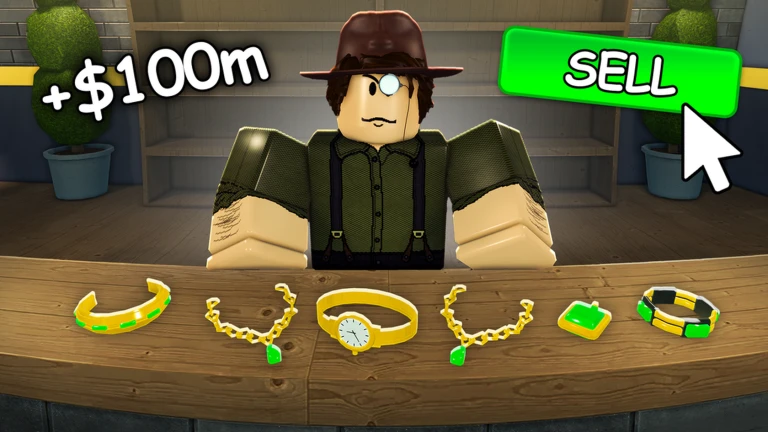
- Jewelry Empire workshop upgrades should follow a strict priority order for maximum profit
- Cutting and Polishing stations are usually the best first investments
- Workbench capacity limits total output — upgrade it before adding new crafting lines
- Resource storage prevents bottlenecks once your production scales up
- Balance coin flow: never spend your entire reserve on a single upgrade tier
Why Workshop Upgrades Matter
Your workshop is the heart of your operation in Jewelry Empire. Every gem you cut, every band you forge, and every setting you assemble depends on workshop stations and their levels. A poorly upgraded workshop forces you into slow, low-margin production, while a well-planned one lets you fulfill high-value orders quickly and consistently.
The key principle is simple: throughput beats variety early on. New players are often tempted to unlock every station type as soon as possible. In practice, deepening a few core stations produces more income per hour than spreading upgrades thin across the whole workshop.
Video Highlights:
- Workshop layout and station synergy
- Early-game upgrade mistakes to avoid
- Coin management between upgrade tiers
Do not unlock advanced stations (engraving, custom design benches) before your cutting and polishing lines can supply them with materials. Idle stations generate zero income and drain your savings.
Upgrade Priority Order
Not all stations contribute equally. Use the priority table below when deciding where your coins go next.
| Priority | Station | Benefit | Upgrade Cost Range | Rating |
|---|---|---|---|---|
| 1 | Cutting Station | Faster gem processing, unlocks higher gem tiers | Low-Mid | ★★★★★ |
| 2 | Polishing Station | Improves gem quality and sale value | Low-Mid | ★★★★★ |
| 3 | Main Workbench | More concurrent crafting slots | Mid | ★★★★☆ |
| 4 | Storage Vault | Larger material and finished-goods capacity | Mid | ★★★★☆ |
| 5 | Assembly Bench | Faster setting assembly for rings and pendants | Mid-High | ★★★☆☆ |
| 6 | Engraving Bench | Unlocks premium personalization orders | High | ★★★☆☆ |
| 7 | Design Studio | Custom one-off commissions | High | ★★☆☆☆ |
If an upgrade does not either increase output per hour or raise the value of each item sold, postpone it. Cosmetic and prestige upgrades should wait until your core loop is stable.
Early Game (Lv. 1-10)
- Focus: Cutting + Polishing
- Goal: steady basic-gem income
- Avoid: unlocking new station types
Mid Game (Lv. 10-25)
- Focus: Workbench + Storage
- Goal: parallel crafting, larger batches
- Avoid: over-investing in one station
Late Game (Lv. 25+)
- Focus: Assembly + Engraving
- Goal: premium personalized orders
- Avoid: cosmetic upgrades before capacity
Step-by-Step Upgrade Path
Follow this sequence for a smooth progression curve with minimal downtime.
Establish the Core Loop
Upgrade your Cutting Station to the point where it can process gems faster than you can source them. This keeps your raw material pipeline saturated and ensures the station is never idle.
Raise Quality with Polishing
Push your Polishing Station two to three levels. Higher polish quality directly increases the sale price of finished gems, multiplying the value of every unit you already produce.
Expand Workbench Capacity
Add concurrent crafting slots at the Main Workbench. Extra slots let you queue multiple orders overnight or during long sessions, dramatically raising daily output without extra attention.
Build Storage Buffers
Upgrade the Storage Vault so raw gems and finished pieces no longer cap out during bulk production runs. Storage bottlenecks silently waste hours of station time.
Unlock Premium Lines
Only now invest in Assembly, Engraving, and the Design Studio. These stations consume high-quality inputs and pay out premium order rewards, which your upgraded core loop can now supply.
If you can complete every customer order within its deadline without idling stations, your workshop is ready for the next tier of upgrades. If orders back up, revisit core stations first.
Resource Planning and Coin Management
Upgrades are expensive, and running out of coins mid-tier stalls your entire operation. Plan purchases around your income cycle.
| Upgrade Tier | Typical Cost vs. Hourly Income | Recommended Reserve Before Buying | Payback Speed |
|---|---|---|---|
| Tier 1-3 | Roughly 1-2 hours of income | Keep 50% of cost in reserve | Fast |
| Tier 4-6 | Roughly 4-6 hours of income | Keep 1 full order cycle in reserve | Medium |
| Tier 7+ | Half a day or more of income | Keep 2 full order cycles in reserve | Slow but high value |
Financial guidelines:
- Sell surplus basic gems before big purchases rather than hoarding them in storage
- Time large upgrades after completing high-value order batches, not before deadlines
- Track payback: skip upgrades whose value increase takes more than a day of play to recover
- Reinvest first: early coins go further in stations than in decorations
A single under-leveled station slows every station after it. If orders stall, identify which station in your chain is the slowest link and upgrade it before anything else.
Before Every Major Upgrade, Confirm:
- Current stations are never idle during active play
- Coin reserve covers at least one full order cycle
- No storage is at or near capacity
- All active customer orders can still meet deadlines
- The upgrade raises output or item value directly
Station Synergy and Layout Tips
Placement and synergy affect how quickly crafted items move between stations. Keep related stations adjacent to minimize transfer delays in your production chain.
| Chain | Recommended Station Order | Output Type | Value Multiplier |
|---|---|---|---|
| Basic Gems | Cutting → Polishing → Display | Polished gems | Low |
| Fine Jewelry | Cutting → Polishing → Assembly → Display | Rings, pendants | Medium |
| Premium Orders | Cutting → Polishing → Assembly → Engraving | Personalized pieces | High |
| Custom Commissions | Design Studio → Cutting → Assembly → Engraving | One-off pieces | Highest per unit |
Synergy rules that hold across most layouts:
- Cutting first, always — every chain starts with processed gems
- Polishing adjacent to Cutting — the highest-traffic transfer in the workshop
- Assembly near Storage — assembled pieces stack up fastest
- Engraving at the end — it finalizes pieces and should sit closest to your display or delivery point
Watch one full production cycle without intervening. If you notice gems or pieces waiting in queues for long stretches, your layout or the upstream station level needs adjustment.
FAQ
Q: What is the best first workshop upgrade in Jewelry Empire?
The Cutting Station is the strongest first upgrade. It processes raw gems faster, feeds every other station in your chain, and scales cleanly into the mid game. Follow it with the Polishing Station to raise gem sale value.
Q: Should I upgrade one station fully or spread upgrades evenly?
Focus on depth over breadth early. A high-level cutting and polishing pair outperforms several low-level stations. Spread upgrades only after your core loop covers all incoming raw materials without idling.
Q: How do I fix a workshop bottleneck?
Identify the station where items queue up the longest. That station is your slowest link. Upgrade it one or two levels and re-observe the cycle before spending elsewhere. Bottlenecks shift as you upgrade, so repeat this check regularly.
Q: Is the Jewelry Empire Design Studio worth the cost?
The Design Studio unlocks the highest per-unit commissions, but it demands high-quality inputs from every other station. Treat it as a late-game investment — buy it only after cutting, polishing, assembly, and storage are well established.